Motorcycle Tire Changing Tools
Want to change a motorcycle tire, or outfit your shop? We have the tire tools you need. So you've got a new set of Motorcycle Tires and you'd like to install them yourself. Well, there's only a few steps between you and having a new set of tires mounted and balanced by your own hand, so let's get started by listing what you'll need:
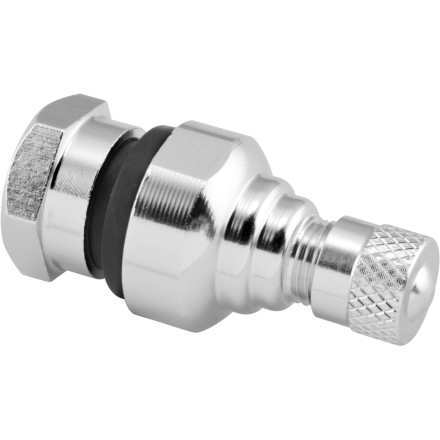
- Valve puller: We have versions from BikeMaster and HP Tools.
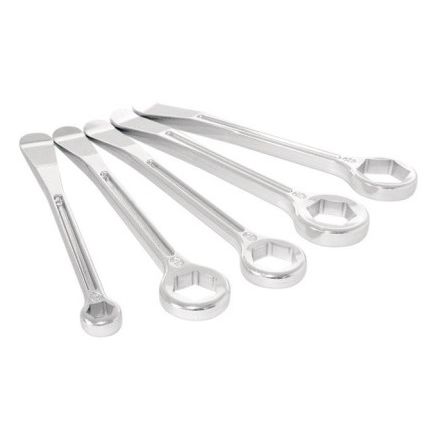
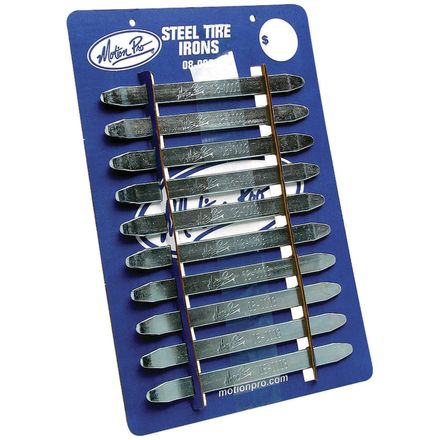
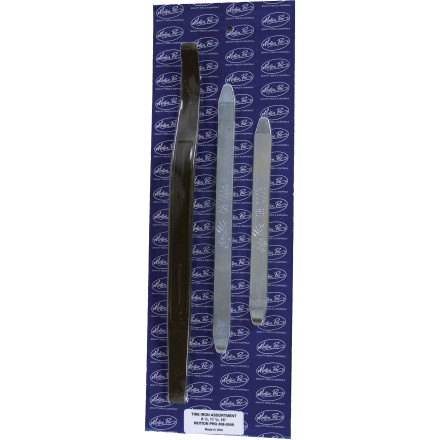
- Tire Irons: The Zip Ty Racing Tire Irons are our favorite.
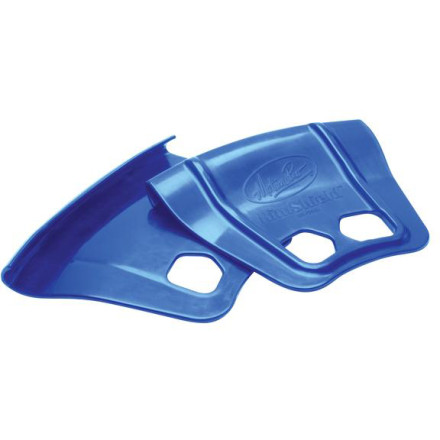
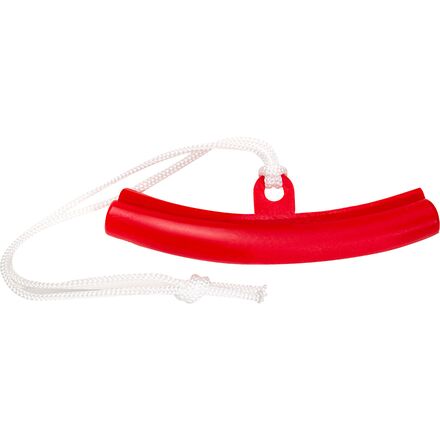
- Rim Savers: Like the Motion Pro Rim Protectors or the BikeMaster versions.
- Bead Breaker: The Motion Pro Bead Popper and a mallet is the perfect combo.
- Soapy water: In a spray bottle.
- Air source and pressure gauge: A pump/compressor and a Motion Pro Digital Air Guage or BikeMaster Digital Air Guage will be perfect.
- Balancing stand: The BikeMaster Wheel Balancer and Truing Stand is perfect.
Now, we know that looks like a fairly large amount of investment to just change out a tire, but it'll pay for itself after a couple changes, especially if you're a regular track rider. So, let's get to it, shall we?
- Remove the valve core with the puller tool. Let the tire deflate completely.
- Spray your soapy water mixture around the circumference of the rim, then wedge the bead popper between the rim and tire, pointing downwards, and give it a few solid whacks with your mallet until it pops. You'll know.
- Place the rim protectors on the rim a little ways apart and use the irons to remove the first bead (use a bit more soapy water) by prying the bead of the tire up over the lip of the rim. If it's proving difficult, push down the tire bead on the opposite side so that it's in the middle of the wheel. This will give you a little more room to work.
- Once the initial bead is off the rim, pull the tire up and remove the second bead, which should be fairly easy at this point. Also, clean up the wheel and remove any weights.
- There should be a "light spot" indicator on your new tires, usually indicated by a red or yellow dot. Use the soapy water to lubricate the bead, line the dot up with the valve stem of your rim and push the tire on. It should be easy to get the tire on, requiring an iron for only the last bit. Be sure to double check that the tire's tread is facing in the right direction (there are arrows on the tire if you're not sure).
- You're almost there! Make sure the second bead is nice and soapy, then push as much as you can into the center of the wheel. Getting the remaining bit of the bead inside the rim should be easy with tire levers.
- Here's where you'll need the air compressor. Now, spray a little more soapy water on both beads just to make sure they seat easily. Bounce the tire on the ground a few times around the circumference, then hook up the air and inflate to somewhere in the 40-50 PSI range. You should hear two LOUD pops, which is what you want! The beads have seated and you're ready to put the valve stem back in and balance the wheel! Sometimes this step takes a bit, which is why your valve stem should be out. Let it deflate, bounce it around, try more soap, even leave it in the sun (or use tire warmers if you have them) to warm up the tires a bit and make them more pliable. You'll get it. Just have patience.
Balancing your Motorcycle Wheel and Tire
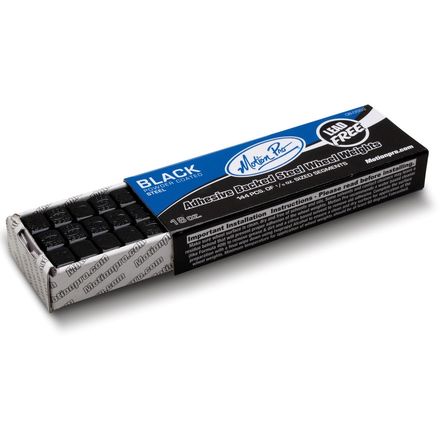
Now that your tire is mounted and filled to the correct pressure, make sure that all the tire's stickers and your old wheel weights are off. Use whatever procedure necessary to put your wheel on the balancing stand (they're all generally the same, just check out the instructions that came with it) and give it a spin. Wherever it settles, use chalk, paint pen, or any other marking to put a mark at 12 o'clock on the tire. Give it another spin. If your mark ends up at 12 again, you need to balance the wheel. Use duct tape to temporarily mount a weight on the rim in line with your mark and give it another spin. If your mark points up again, it wasn't enough weight. Tape a little more and give it another spin. If the weight comes up on the bottom now, you added too much. You'll know when the wheel is balanced when it stops in fairly random positions each time. This is a time consuming process, but once it's learned, it goes faster each time. After you've got it dialed in, remove the weights you taped on, clean the wheel with contact cleaner and apply permanent weights in their place.
You're done! Congratulations, now get out there and break those tires in!