Begin typing to search, when autocomplete results are available use up and down arrows to review and enter to select. Selecting an options will take you to a new page. Touch device users, explore by touch.SEARCH
Search within a riding style, select an optionBegin typing to search, when autocomplete results are available use up and down arrows to review and enter to select. Selecting an options will take you to a new page. Touch device users, explore by touch.
Free shipping on orders over $79 to Illinois
Orders over $79.00 will receive free shipping. This is a residential delivery service, deliveries Monday through Friday from 9:00am to 8:00pm.
What types of UTV heel guards are available and how do I choose one?
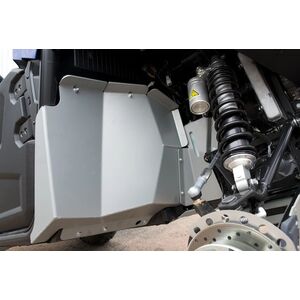
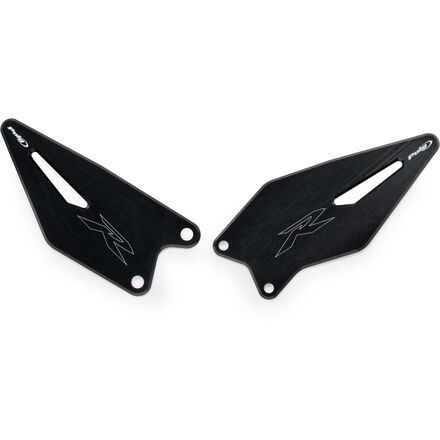
Common styles include full-coverage plates for maximum protection and open/tube designs for self-cleaning; choose solid guards for rocky or brush-heavy riding and vented styles for mud or sand, while matching material and mount style to your riding priorities.
Which materials and finishes hold up best for UTV use?
Look for corrosion-resistant options like stainless steel, high-grade steel with durable powder coat, or marine-grade aluminum; heavier steels offer toughness for impact-heavy use while aluminum gives weight savings and good corrosion resistance.
How should terrain and weather influence my heel guard choice?
Pick solid, impact-focused guards for rocky or brush-filled trails, vented designs to shed mud and snow, and corrosion-resistant finishes for wet or salty environments to extend service life.
How difficult is installation and what routine maintenance is recommended?
Most heel guards are bolt-on using basic hand tools, though some may need minor alignment or drilling; maintain them by rinsing off mud, checking fasteners after rides, and touching up chips to prevent corrosion.
How do heel guards interact with common UTV mods like steps or rock sliders?
Choose designs that maintain clearance for footpegs, steps, and rock sliders or offer adjustable mounting points; inspect alignment and clearance during installation to ensure no interference with existing accessories.