Begin typing to search, when autocomplete results are available use up and down arrows to review and enter to select. Selecting an options will take you to a new page. Touch device users, explore by touch.SEARCH
Search within a riding style, select an optionBegin typing to search, when autocomplete results are available use up and down arrows to review and enter to select. Selecting an options will take you to a new page. Touch device users, explore by touch.
Free shipping on orders over $79 to Illinois
Orders over $79.00 will receive free shipping. This is a residential delivery service, deliveries Monday through Friday from 9:00am to 8:00pm.
How should utility riders choose lights and electrical upgrades?
Match your machine’s wiring (2- or 3‑wire) and power capacity, pick a beam pattern for your terrain (spot, flood, or combo), and favor low‑draw, IP‑rated LED housings for reliable performance.
Which beam pattern works best for chores, trails, and plowing?
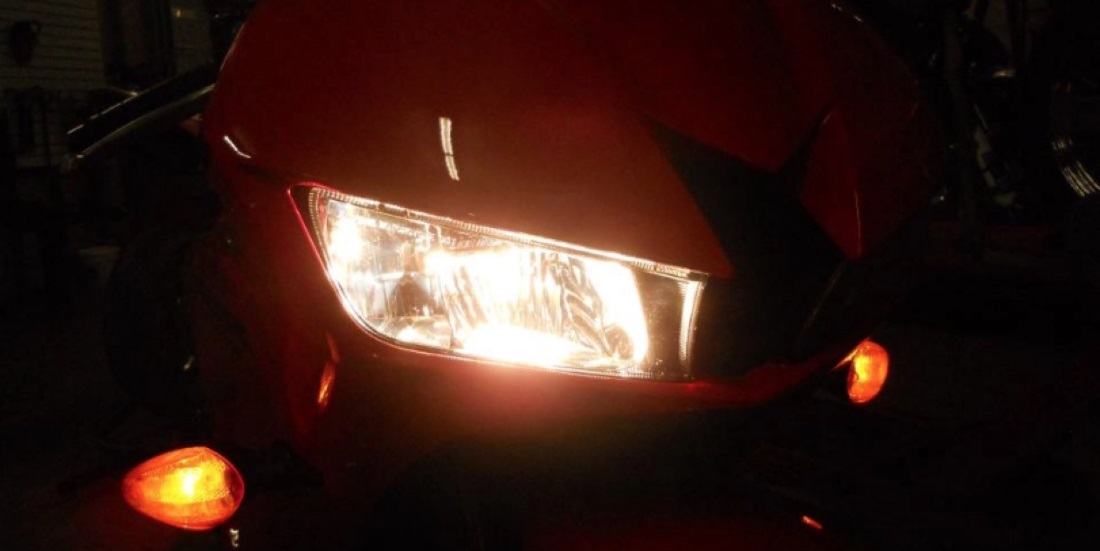
Use spot beams for long‑range visibility, flood beams to light wide work areas, and hybrid setups for both; add amber lenses to cut glare in fog, dust, or snow.
How do I avoid overloading my electrical system when adding lights?
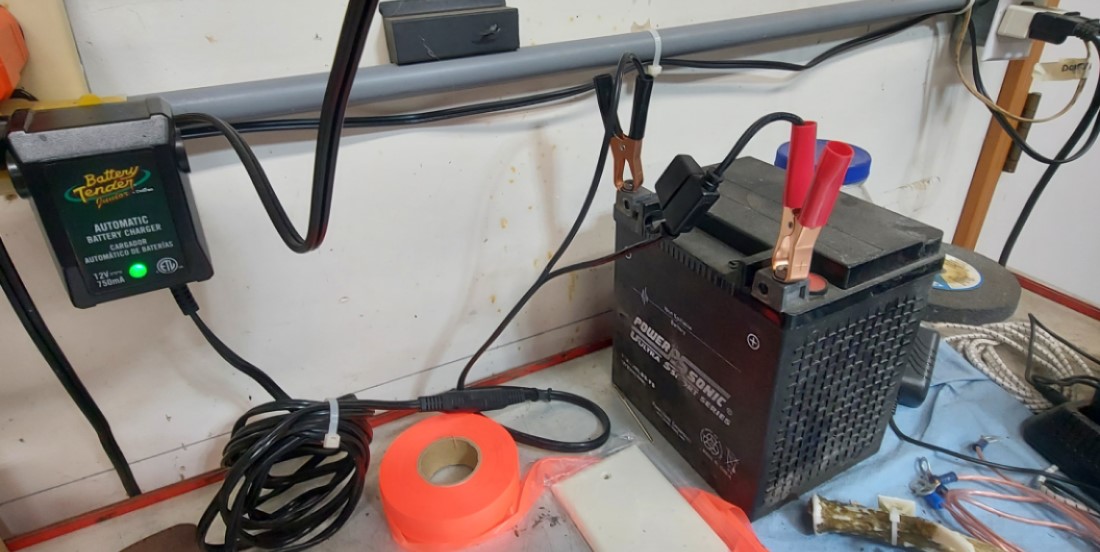
Use a fused relay harness, keep total draw within your system’s limits, and add load equalizers with LED turn signals to maintain proper flash rate; consider an auxiliary power source if you also run winches or heated accessories.
Are these lights durable enough for mud, rain, and rough terrain?
Choose shock‑resistant LEDs with sealed connectors and an IP‑rated housing, and mount them securely to handle vibration—LEDs also run cooler and last longer than halogens in harsh conditions.
Any install tips specific to utility ATVs/UTVs?
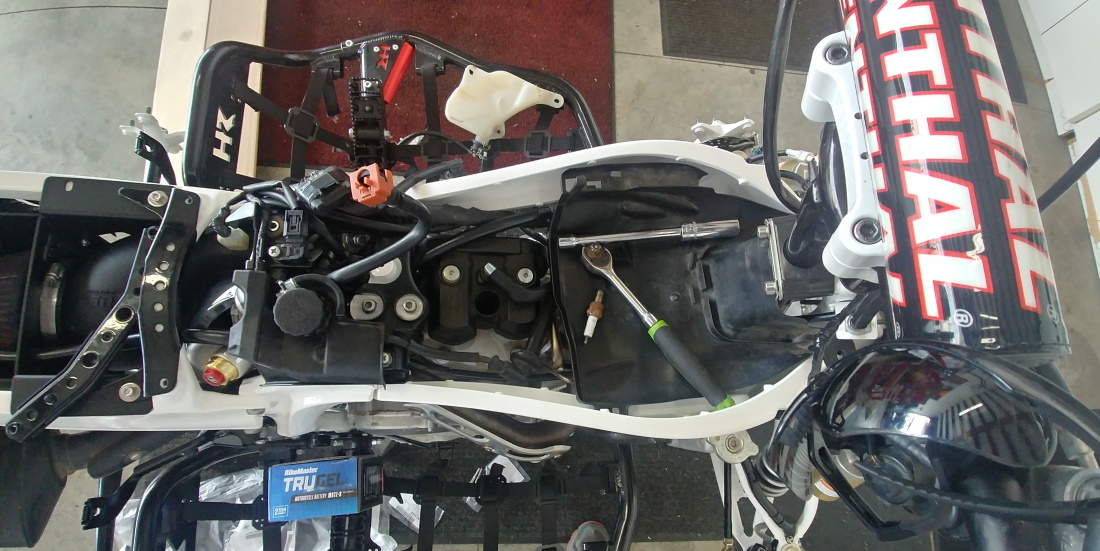
Decide on simple 2‑wire on/off or 3‑wire for DRL/dimming or high‑beam tie‑in, route wiring away from heat and moving parts, and recheck mounts and connections after your first ride.