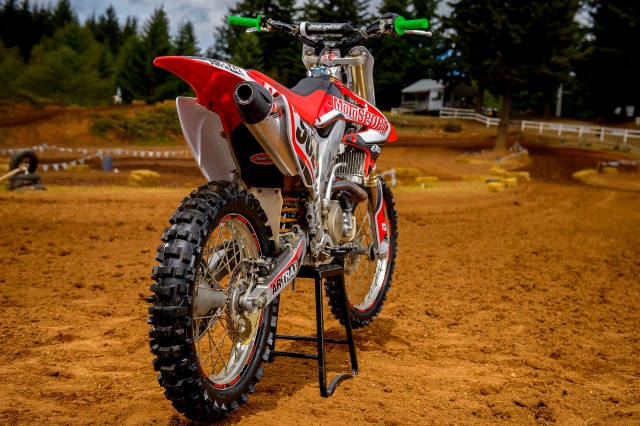
Two methods to washing a dirt bike exist: The easy way and the meticulous way.
Only one way accepts the perfectionist's resume.
Most riders find rhythm sections and bar-banging racing pure strenuous joy but when it comes to post-race cleanup this painstaking job turns into a real pain in the butt left for another day. However, you have to clean your dirt bike after riding. Allowing grease, muck and grime to settle simply hastens deterioration and leaves your bike looking old and out of sorts.
The easy way is better than nothing and after a long day of riding certainly offers something in terms of bike upkeep. An easy clean consist of spraying down your bike to remove all signs of dirt, polishing the plastic with a squirt of MX1 and lubricating the chain. Ideally, clean your bike within 24 hours of riding.
How you spray the bike down is up to you. Using a power washer cuts the time in at least half rather than using a hose and brush. However, too strong of spray or a full throttle of water in the wrong space for an extended period can ruin gaskets and/or allow water into forbidden places. Don't forget the exhaust plug! Use a power washer on the plastic and tires then dial it back or use a regular hose for the quick clean around the more delicate parts housed inside the frame. Once you have removed the heavy collection of dirt spray everything down with any one of these cleaners or Simple Green. Let the cleaner soak and sit then rinse off. Pat everything dry.
Superficially, you have finished cleaning your dirt bike.
This method works for a while but eventually what you missed accumulates and one day you head out to the garage and wonder what happened to what was once a shiny new dirt bike. Returning your dirt bike to a showroom shine takes a lot of effort and a meticulous hand. Here's how you do it:
Mmm hmm, that's one fine looking dirt bike
How To Really Wash a Dirt Bike
Remove all the plastic, the tires and seat. (First remove any sections of heavily seated mud or debris.) Now you can go to town with the power washer on the plastic and wheels. Use your favorite cleaner along with a brush or cloth to scrub and clean these parts. Use a damp cloth to clean the seat. Don't soak the seat!
Put these items aside and remove the engine.
Yes, remove the engine from the frame. A handful of bolts keep it attached to your dirt bike. You might need an extra hand but it removes quite easily. Once you have removed it take your pick on tackling the engine or the frame of your dirt bike first. Spray both down with a cleaner and let one soak while you work on the other. In this case, letting the engine soak first probably expedites the cleaning process a bit since you can use a power washer on the frame. DON'T use it on the engine.
After you have cleaned the metal frame and the engine the real work begins. You need some aluminum polish, several Brillo pads and a lot of elbow grease. Rub, rub and rub all the metal on your dirt bike. Polishing applies to the spokes, engine, swingarm, frame and subframe. (Forget the rims, most come anodized so just scrub them well.) This process takes a while and requires nearly as much energy as a Moto (you might get arm pump!) so take your time and consider cracking open a frosty beverage or two. If you want a break from rubbing switch to the plastic and spray down with some SC1.
You don't need much exertion here and the results astonishing. You can use SC1 on anything rubber or plastic including the various hoses for a real slick look. Clean the air box, too.
Clean the air box and polish the aluminum
Mechanic's Note: Steel frames come painted so no need to polish.
By the way, before you take everything apart it helps to keep track of the screws and bolts removed so you can easily put everything back together. How you do that is up to you, might we suggest clean rags to place the hardware on and paper and pen for notes. Lubricate all bearings at this time, as well.
Tearing down your dirt bike offers access to spots you can't reach and allows for a closer inspection of parts alerting you to potential issues down the road. A thorough cleaning probably only needs done twice a year. We'd suggest at the start of the riding year and midway through summer. Removing build-up actually helps your dirt bike run cooler.
Your dirt bike can look this fresh too!
Incidentally, diving in a bit deeper than the easy clean method described above after every ride makes the more meticulous method somewhat less daunting. You can still polish parts of the metal without taking the bike apart so the next time you perform a complete cleaning you won't have to use as much muscle.
Put the bike back together and use a torque wrench for tightening. Lubricate the chain.
Now go get it dirty again.
For more supercalifragilisticexpialidocious articles on cleaning your dirt bike, check out:


